Introduction
Formatting a hard drive or SSD is a fundamental process when setting up storage devices on Windows 11. This comprehensive guide will take you through the detailed steps of formatting using File Explorer, shedding light on the significance of each option and providing additional insights for a more thorough understanding.
Open File Explorer
Begin by accessing File Explorer, the central hub for managing files and drives on your Windows 11 system. You can do this by clicking the folder icon in the taskbar or right-clicking the Start button and selecting “File Explorer.”
Navigate to “This PC”
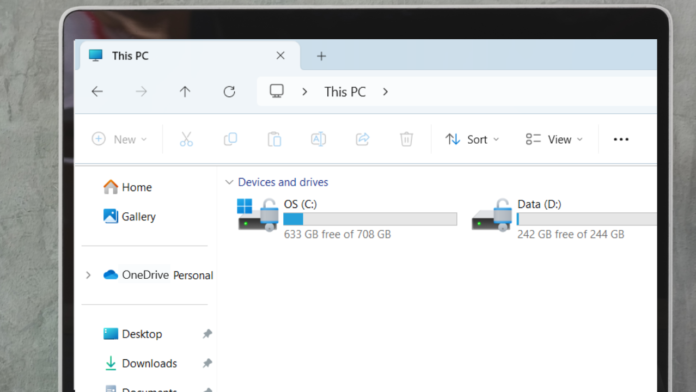
Within File Explorer, navigate to the “This PC” section. This area provides a holistic view of all connected devices and drives associated with your computer.
Select the Drive to Format
Identify the specific drive you wish to format from the list under “Devices and Drives.” Right-click on the chosen drive, and from the contextual menu, select the “Format” option.
Configure Format Options
The “Format” window now presents several critical configuration options that dictate how your drive will be formatted.
- Capacity: This parameter indicates the data capacity of the formatted drive. It reflects the available space once the formatting process is complete.
- File System: Choose between FAT, FAT32, NTFS, or exFAT, depending on your specific requirements. NTFS is suitable for Windows-only use, while exFAT enables cross-compatibility with Mac systems.
- Allocation Unit Size: In most cases, it is recommended to stick with the default allocation unit size suggested by Windows. This value dictates the basic block size used by the file system during formatting.
- Volume Label: This is the name assigned to the drive, visible in File Explorer. Choose a label that is descriptive and easily recognizable.
Format Options (Quick Format)
Decide whether to opt for a “Quick Format.” This option is suitable when the drive is in good working order and expedites the formatting process. If left unchecked, a more thorough, sector-by-sector format is initiated, providing a comprehensive wipe of the drive.
Initiate Formatting
Click the “Start” button to commence the formatting process. A warning message will appear, emphasizing the irreversible nature of formatting and the permanent deletion of all data on the disk. Confirm your decision by clicking “OK.”
Warning: Formatting is an irreversible process. Ensure you have backed up all crucial data before proceeding.
Monitor the Formatting Process
As the formatting progresses, a visual indicator moves across the screen, providing a real-time representation of the process. Once completed, an alert will pop up, indicating the successful formatting of the drive. Click “OK” to acknowledge.
Completion and Verification
Close the “Format” window. Your newly formatted drive will now be visible in File Explorer, ready to accommodate fresh data.
Additional Tips
- If you encounter a “Windows Was Unable to Complete The Format” error, various troubleshooting steps are available.
- Always remember that formatting results in complete data loss, so ensure you have backups before proceeding.
Conclusion
Formatting a hard drive or SSD is a critical step in optimizing it for use in Windows 11. By following this detailed guide, you not only navigate the process effectively but gain a comprehensive understanding of the available options. Whether you’re using File Explorer for standard formatting or exploring advanced options with the Disk Management Utility, this knowledge empowers you to manage your storage effectively and securely.

